


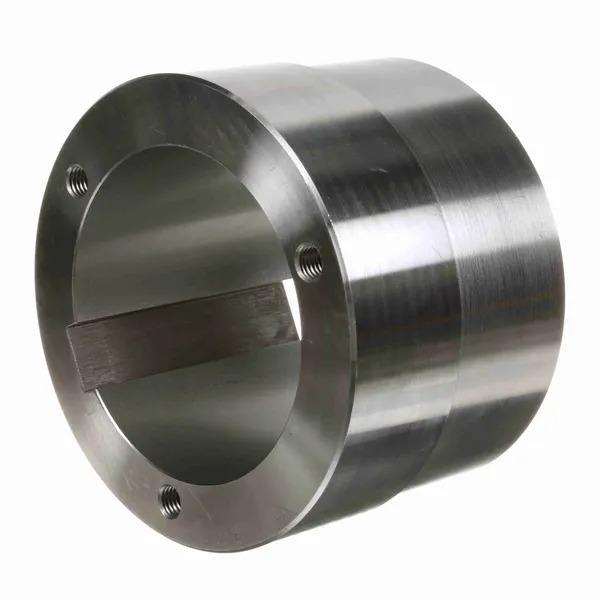
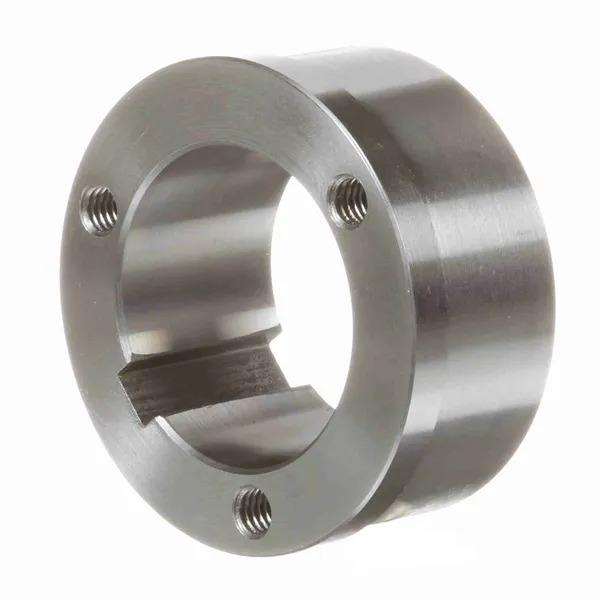
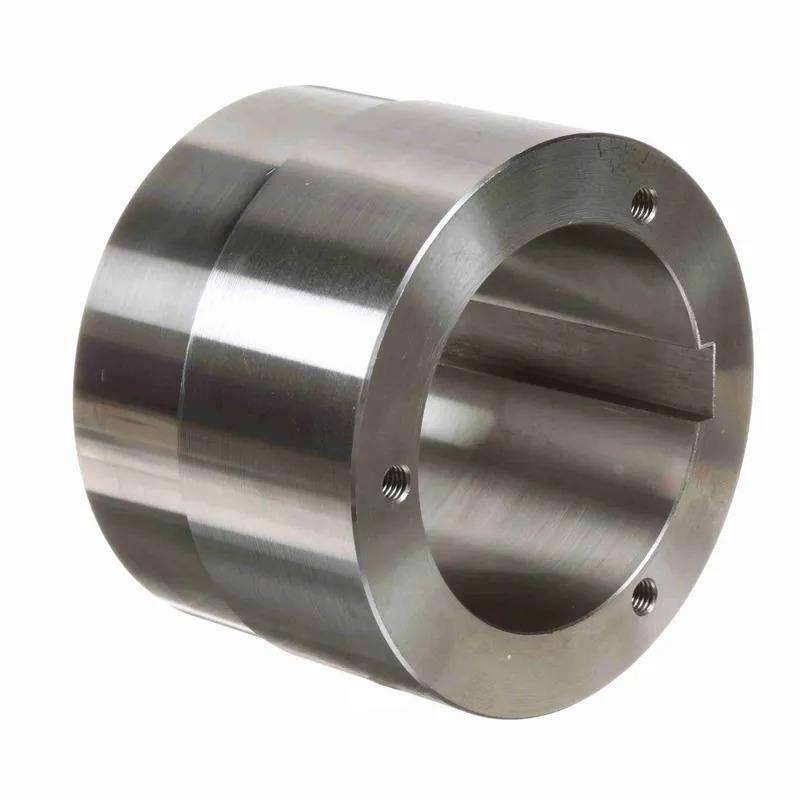
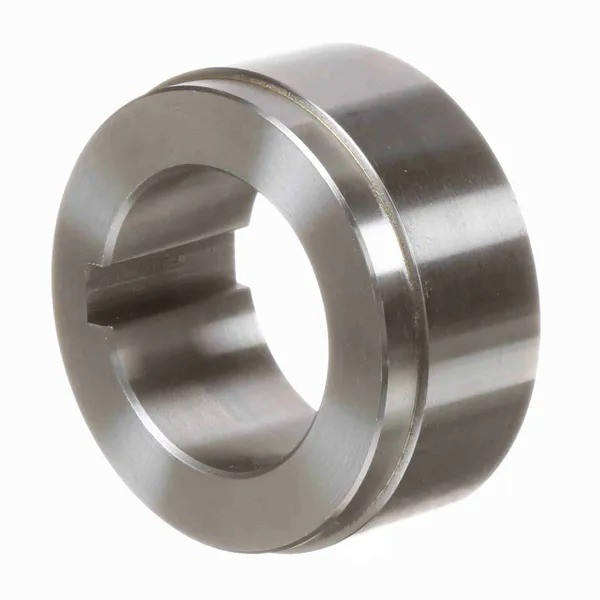
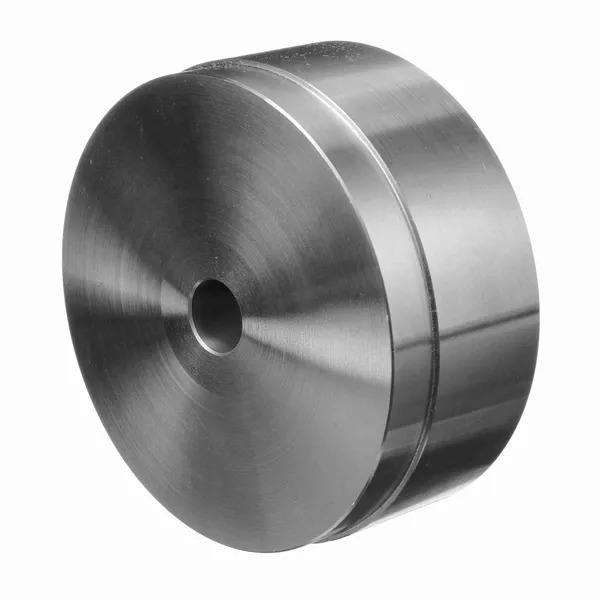
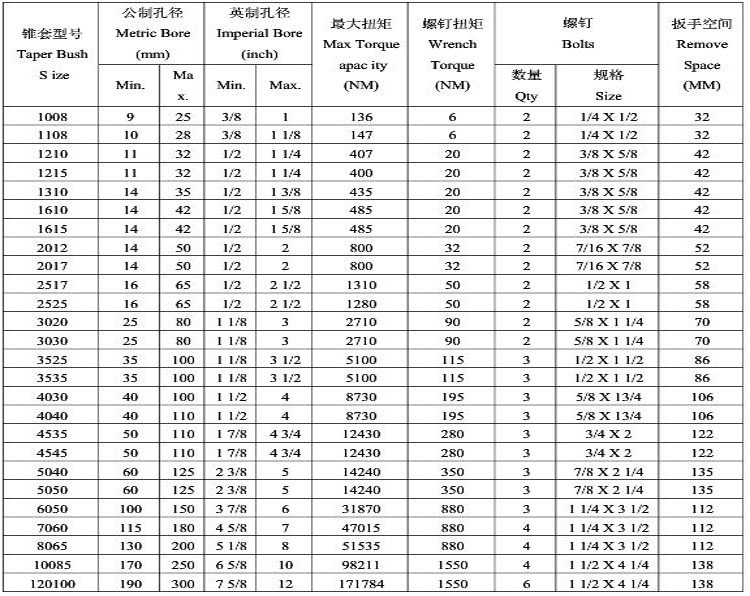
Bushing Part No. | XTB15 Bushings | ||
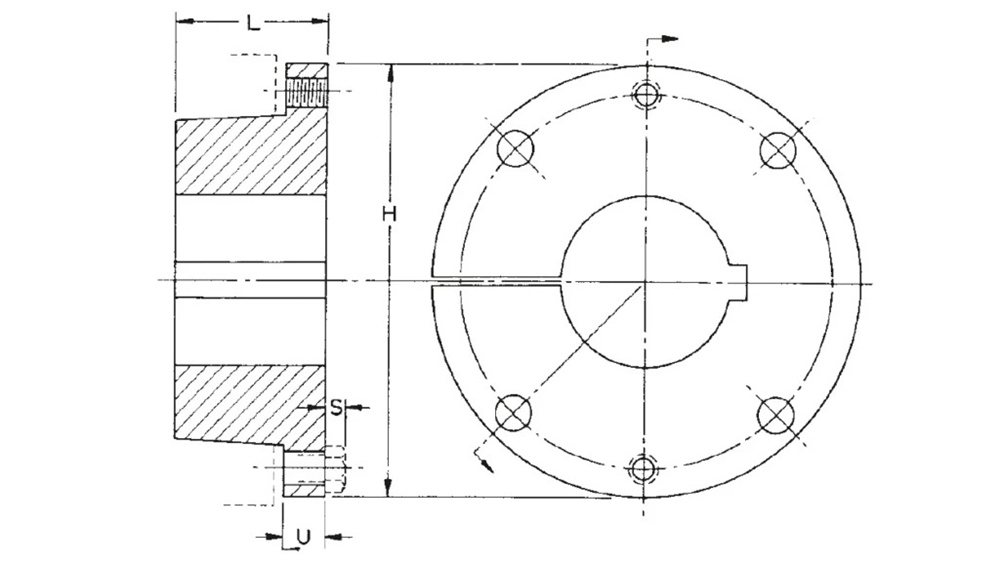
Dimensions | L | 1 1/8" | |
U | 3/8" | ||
H | 2 7/8" | ||
S | 5/32" | ||
Cap Screws | No | 4" | |
Size | 1/4" X 1" | ||
Wt lbs | 0.7 | ||
Bushing Part No. | Stock Bores | Keyseat | Key Supplied |
XTB15 Bushing | 5/8", 3/4", 7/8" 1", 1 1/8",1 13/16", 1 1/4", 1 7/16", 1 1/2" | 3/16" X 3/32" 1/4" X 1/8" 3/8" X 1/8" | none none 3/8" x 5/16" x 1 1/8" |
For more details, please click here to contact us! | ||||||||

FOR MORE DETAIL, PLEASE CONTACT US. |
Address
Luotuo Industrial Area, Zhenhai District, Ningbo City, China
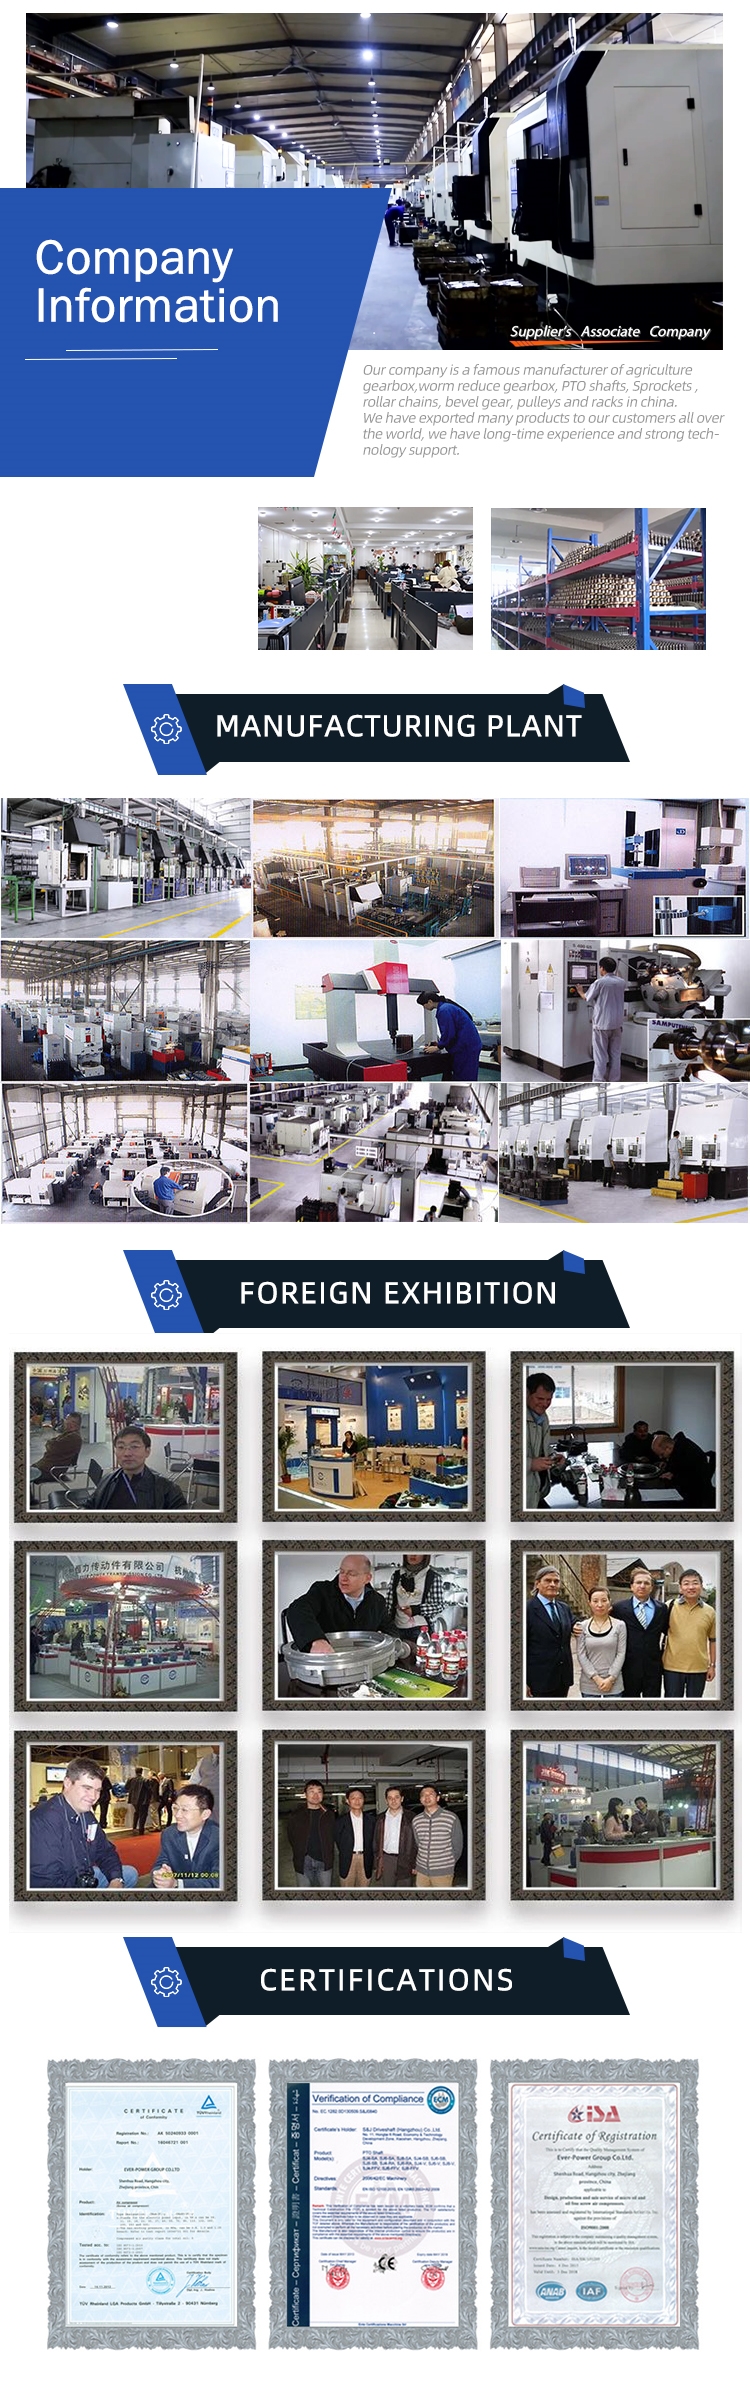
Interested in our gearboxes or custom components?
Contact Raydafon for a prompt quotation and technical support. As responsive Manufacturers from China, we ensure clear communication and tailored solutions for every inquiry.


